10.22

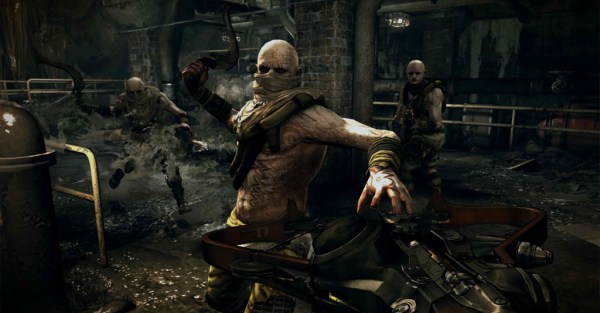
Seemed like a great weapon choice 2 seconds ago… Shotgun! Shotguuuuuuun!
Here is our quick guide for anyone playing Rage to use as a “cheat sheet”.
It’s aimed at those playing Rage on “Nightmare” difficulty but, of course, it’s guidance is applicable to anyone who plays Rage at any difficulty.
As ever, for any guide written by me, it is spoiler free, as far as I can make it, and is not a walk-through. I insist on not spoiling the user experience.
OK, introductions over, let’s get to the good stuff!
Rage is a great game, by a great games company, and whilst it’s huge fun it can have moments of infuriating difficulty if you don’t quite come at it from the right direction, specially as you ramp up the difficulty. Thus we offer you our thoughts and tips on enjoying Rage as much as possible, regardless what difficulty you choose to play at.
General Approach
It is often beneficial to have a quick think about how your default style fits into any game you play and if small tweaks to your approach may prove beneficial. It’s also a common error to assume that certain assumptions will work for every game. To assist you in dealing with these two important parts of game-play we feel it will be helpful to consider the following about Rage;

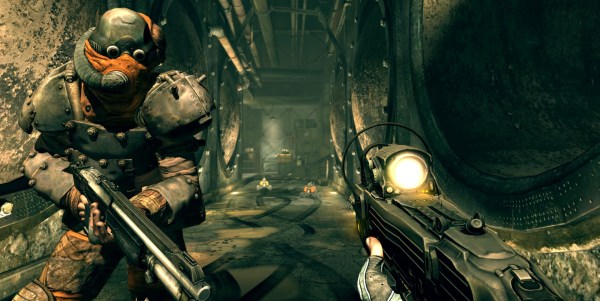
Oh! Hello! Hang on a sec while I swap to my… erm… shotgun?
Combat & Exploration
– Whilst your character is fairly robust, allowing the enemy to get very close to you, specially early on in the game at high difficulty, can be devastating, enemy melee is powerful in Rage and there are most often multiple enemies around. The earlier you can dispatch any enemy the easier your life will be. By default deal with everything at distance. (To assist in doing so an early item to consider is the “Monocular”, available from the first merchant you encounter, which greatly aids this task by turning your humble pistol into an effective distance weapon.).
Whilst the sniper rifle should be favoured, once available, do not forget the humble monocular-scoped pistol as it can be effective if used patiently when other ammo is low throughout the whole game. In general, sniper ammo is best kept around 50 rounds. More is better.
– Whilst distance weapons should be favoured wherever possible, for safety, it is essential to be conversant with your next best friend, the shotgun. If you are confident in it’s correct use and well stocked with ammo you can expect to escape even the tightest of situations. If you were to select only two weapons with which to deal with standard enemies the shotgun would be one of them. The key with the shotgun is distance. It will make extremely short work of anything you can get close enough to, this makes it indispensable for confined spaces or where you are being rushed by one or more enemies. In actuality the kill range of the Rage shotgun is slightly further than in many other games. Experiment till you are happy with it’s effective distance. Shotgun ammo is most useful kept around the 100 round level.
– Whilst it is quite possible to play almost the entire game with well stocked shotgun & sniper rifle there are a couple of other items to mention. Firstly the Wingstick. This is a cheap, flexible and brutally effective weapon against almost any enemy type. This is triply the case (quite literally!) when upgraded to it’s advanced form. You should consider this your “get out of jail free card” and not something for casual use. The best times to use it are when you are caught mid-reload, or when too much is coming at you at once. Secondly, whilst grenades (easy to dodge), turrets (easy to knock over) and RC bomb cars (easy for enemy to destroy) are all well and good the real star of the show is the Sentry-bot. I cannot emphasise enough how useful & powerful this is, particularly when upgraded to it’s advanced form.
In numerous situations you must “Hold out” for a period of time against waves of enemies. In these situations a single sentry-bot can make the difference between a real headache and an absolute pleasure. A particularly good strategy is to deploy your sentry-bot and then focus on defending it as it deals with the enemy, remember, it has infinite ammo, whilst you do not. The sentry-bot is so superior to the turret that I would only carry one or two turrets max, whilst I regularly had 5, 6 or even 8 sentry-bots ready to deploy at any one time! The reason for this? Basically, sentry-bots cannot be knocked over and follow you around until killed or blocked, turrets however fail on both counts. Oh and for maximum fun? Deploy two advanced Sentry-bots at once, priceless!
Equipment & Upgrades
– How about utility equipment? Well, bandages are cheap and plentiful, and are your second “get out of jail free card”, only use them in emergencies and you should have plenty, but don’t be afraid to use them, they can be a real life saver. Lock-grinders get you cool free stuff. You should always lock-grind every door you come across and to that end carry at least 2 lock grinders at all times.
– You should always buy any “armour” upgrade you find for your own armour, ASAP, whilst weapon upgrades are very much optional, I didn’t use any of them and didn’t miss them, but they will obviously help make things easier if you do. I’ve heard good things about the shotgun reload upgrade so that may be worth trying at least. Anyway, save, upgrade, try it out and reload your save if you don’t like it!
Ammo Types
– It would be totally unfair to not mention ammo types, which are great fun. Generally this is simple, stick with your weapon’s default ammo type unless you are finding it ineffective against a particular foe, in which case switch to something more exotic. A good rule of thumb is to use standard ammo against everything but “bosses” and heavily armoured enemies in which case alternate ammo will almost always work much better. Towards the end of the game the Pulse / Feltrite / AV2K ammo comes into it’s own. Read the descriptions of each ammo type and apply common sense. I should note that standard sniper ammo or shotgun ammo (at very close range) is effective against anything, 2 to 3 rounds required maximum unless the foe is clearly a “boss” type, even at the very end of the game on Nightmare difficulty. Shields can be EMP Grenaded, Pulse Shotgunned or just worn down.
For bosses in general, and to make light work of most tougher foes, and you know when you’ve come across them, Pop Rockets & Fat Mommas work well, grenades can be effective, and wingsticks prove perhaps surprisingly adept against everything but shields and the very toughest armour. Oh, and obviously the rocket launcher is, as ever, the final word. ![]()

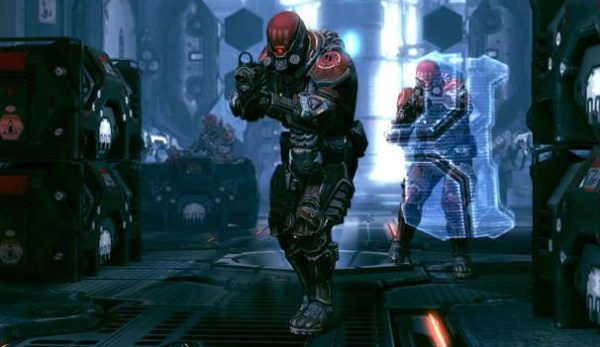
OK… yes… shields… that means Pulse ammo right? But in which weapon?
Crafting
Whilst by no means a core game-play mechanic it does serve an important purpose, and how you manage it can render you dramatically more or less flexible. The key thing here is to not craft until you have no choice. The reason for this is that if you have crafted something and don’t use it, you have removed the relevant crafting resources from your pool and cannot use them for crafting something you do actually need later. Remember, crafting is always instant and can even be done mid-battle, you should aim to keep you crafting resources well stocked, often procuring from merchants as needed, rather than having many crafted items and no resources. You should always be in a position to craft 2 of any single craft-able item.
Finally it is important to be clear on synergy. Many items share single ingredients, so say “Electrical Wire” is required by 4 schema whilst “RC Car Kit” is needed by only one, obviously you will want to keep a higher stock of the first than the second.
Driving
Driving in Rage is generally a fun affair, and with the following in mind should be a breeze. Firstly stick to Rockets, the machine gun is near useless, but only ever fire them when you have “lock” on an opponent. Secondly, liberal use of shields can save you a lot of money. A final tip is that crashing through the “towers” that the machine gunners are on kills them instantly, and does you little or no damage, so be sure to take them out this way if you are nearby. 50 rockets is a good number to play with. Oh, and once you get over the authority bridge you can forget about fighting the vehicles, race to the quest marker, leap out and get into the instance as soon as possible!
“Miss-ables”
Rage, sadly, is a game with a fair number of miss-able options. To mitigate against this be thorough. Often you will not be able to return once you have left (Be particularly careful at the Outrigger Settlement, Dead City & Authority Prison, all of which become “closed” after certain points in the game, often you will get access to parts of them only once, you have been warned! ![]() ).
).

Easy now cowboy! You might be all leapy and agile and that, but I have a gun with your name on it…
Mini-Games
Whilst fully optional these can be infuriating! Hopefully these tips will help you considerably;
Rage Frenzy : This card game is fairly easy to get to grips with. The main thing here is to increase your collection of cards. Do so and you should be fine. It you are having a tough time ensure you include high value cards where possible along with a number of “tough” vehicles and any cards which damage all opponents cards, “Grenade” & “Giant Mutant” being the best examples of this.
5 Finger Fillet : This can be horribly hard. The best option here, specially for the near impossible, randomised, final round is to pause the game, see where the next “light” is, prepare yourself, unpause, and react accordingly, rinse and repeat. This will take a few goes to get used to, but once comfortable will get you there swiftly.
Strum : Again, similarly, an “alternative” approach is best. The easiest way to beat this is to simply note down where each note is played, in order, on paper and replay it from these notes. The most effective version of this approach is to use a grid like layout and numbers 1 to 20, increasing in value for each note played so they can be easily replayed. If you are finding the final stages confusing, try not looking at the screen for notes you already have noted but instead count the tones and then look up for the first new note you need to write down. Seems clunky, but it works and will save you a lot of anguish!
Tombstones : This one is just plain luck. Keep at it and you’ll get there.
Road Rage / Rage Racing : Whilst seemingly complex at first this is actually a fairly easy part of the game. You just need to remember that opponents react dynamically to your speed / skill. The safest bet here is just to stay at the back for 2 laps and boost past them all at the end of third, rendering their weapons mute and giving you a chance to learn the track. For the “Rally” mode identify the point locations and if you get left behind by the AI just double back to the nearest one and wait for it to light up, then proceed around the course as normal again, you may miss a few points this way but you’ll likely win the race overall.
Mutant Bash TV: This one is an interesting one, more an extension of the “Combat” section above, but does have a few important differences. Mutant Bash TV should really be called “Shotgun & Wingstick TV” as that is 98% of what you need. Throw in a Sentry-bot or 2 and a heavy weapon, for any boss you may come across, and you should be fine. Rough numbers? 150 shotgun shells and 30 wingsticks should do it, more if you want to play safe. Obviously keep your Bandages to hand. You’ll need them. Keep to the corners, charge static targets, reload whenever you get a second and keep just out of melee range as much as you can, circle-strafing can be very effective.

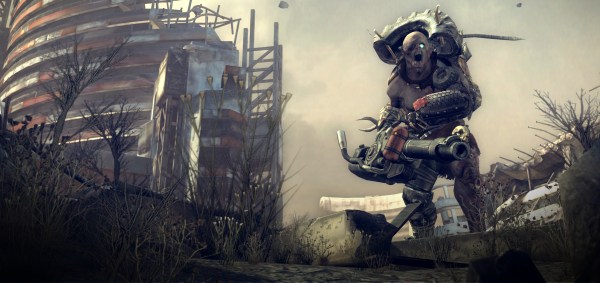
You'd think he's quite close, but no, he's just enormous… what can I put my Pop Rockets in? ![]()
We hope you find this summarised, spoiler free guide to Rage helpful, but please do feel free to ask any questions you have in the comments below and we’ll do our best to answer them!
– Richard “Rax” Burley
@Raxous